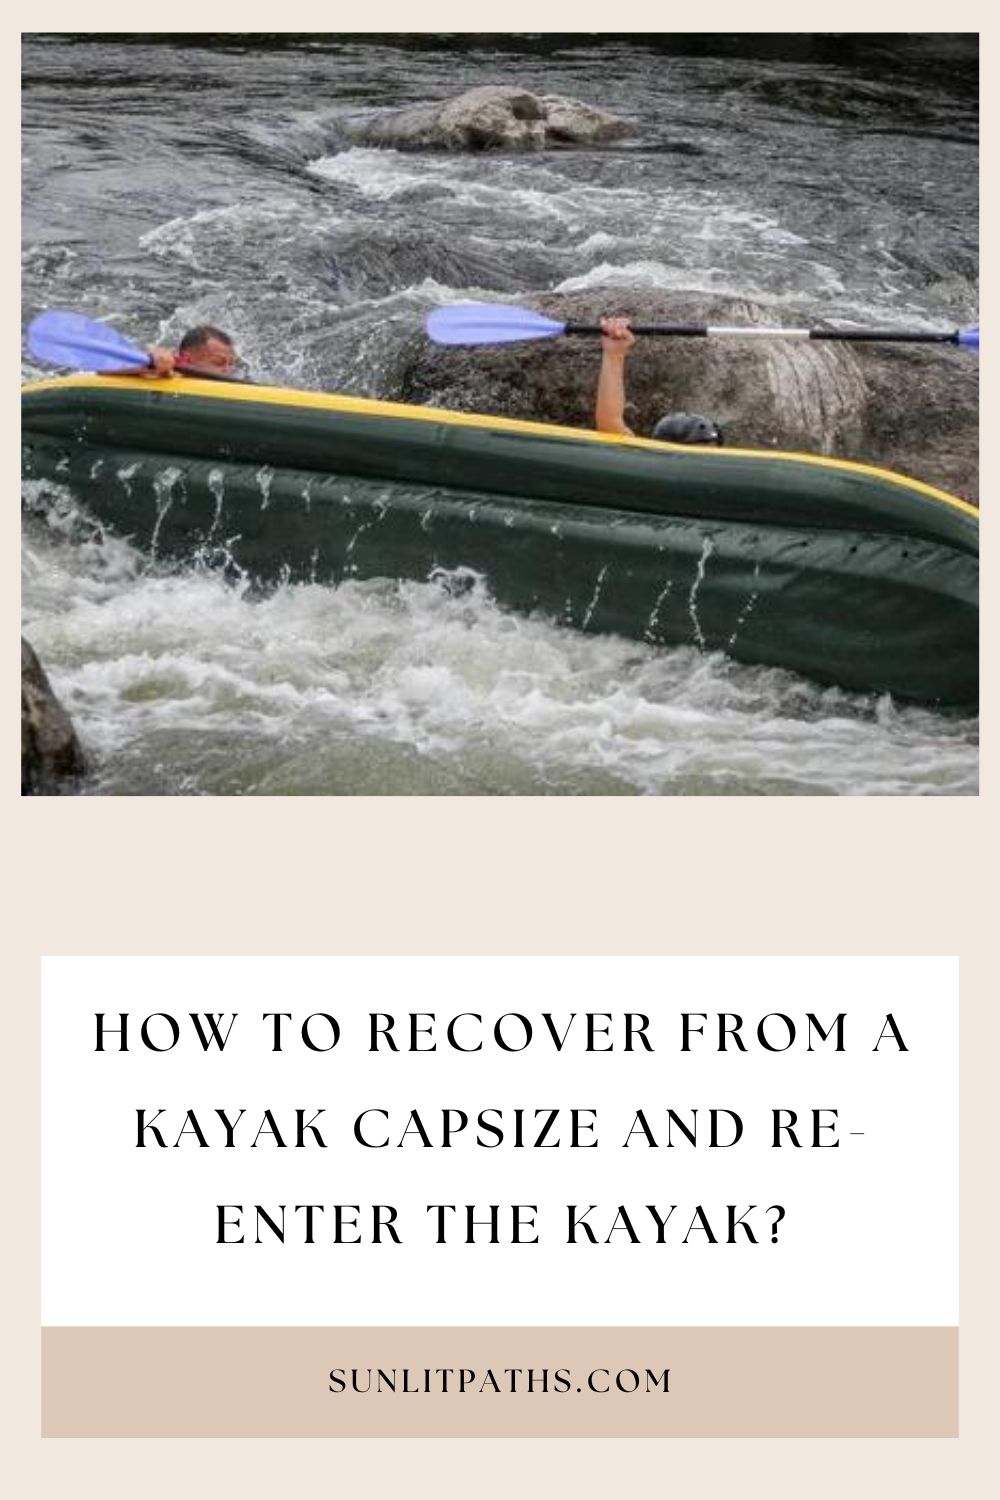
How to Recover from a Kayak Capsize and Re-enter the Kayak?
Safety on the water is super important, right? Even the best of us can end up taking an unexpected swim sometimes. That’s why knowing how to get yourself and your kayak back in order is key!
Don’t worry, it might sound scary, but with a little practice, you’ll handle a capsize like a pro. We’ll cover why they happen, being prepared, and the easy steps to get back in your kayak. Let’s make those spills and flips less worrisome and more like a fun challenge!
Here’s what we’ll go over:
- Why kayaks flip over (and how to avoid it!)
- Getting ready just in case
- Super basic ways to get back in
- Bonus: Fancy tricks for later
Ready to get started? Let’s do this!
Understanding the Causes and Risks of Kayak Capsize
Here’s why understanding the causes and risks of a capsize is super important for your kayaking adventures:
Related Post
- IS KAYAKING HARD OR EASY? FIND OUT NOW
- HOW DO YOU STORE A KAYAK IN AN APARTMENT? : AN EASY GUIDE
- CAN YOU PAINT A KAYAK? EVERYTHING YOU NEED TO KNOW
- HOW TO SHIP A KAYAK? THE ULTIMATE GUIDE
Common Causes of Kayak Capsize
You wouldn’t want to try and ride a bike with all your weight on one side, right? Same goes for kayaks! Here’s why they get wobbly:
- Too Much Stuff, Wrong Places: If all your gear is piled high or way off to one side, your kayak will act like a seesaw. We want it to be more like a boat and less like a playground ride!
- Waves Are Tricky: Think about trying to stand on a surfboard…now make those waves bigger! Big waves and choppy water can throw a kayak around even if you’re an expert.
- Whoops!: Kayaks are meant to be turned by leaning a little, but too much, too fast, and SPLASH! It’s also easy to accidentally jerk the paddle, which can rock the boat.
Potential Risks of Kayak Capsize
Sometimes getting a little wet is part of the fun with kayaking. But some capsizes can be more serious, so let’s talk about the why:
- The Shivers: Cold water steals your body heat FAST. This is called hypothermia, and it can make you weak, confused, and unable to help yourself.
- Stuck! If your kayak traps you underneath, it can be REALLY hard to get out quickly, even if you’re a good swimmer.
- My Stuff! Paddles, gear, and even phones can drift away in a capsize, which is no fun on a good day, and super dangerous if you need something to help get back to shore.
| Kayak Capsize Risks | Description |
|---|---|
| Hypothermia | Cold water can lead to a dangerous drop in body temperature, resulting in hypothermia. |
| Equipment Loss | A capsized kayak can result in the loss of expensive equipment, such as cameras or fishing gear. |
| Injury | A kayak capsize can result in injury from hitting rocks, underwater obstacles or becoming trapped under the kayak. |
| Death | In extreme cases, a kayak capsize can result in drowning and even death. |
We’ve talked about the ‘what-ifs’ – now let’s get ready for action!
Think of it like a kayak superhero training session. Here’s how to gear up and get your skills ready for a possible capsize:
Preparing for a Kayak Capsize Recovery
Before you hit the water, here’s your kayak capsize prep checklist. Think of it like your superhero outfit and handy gadgets:
- The Super Suit: Your PFD (lifejacket) is a MUST, always! Dress for the water temperature (not just the air), and pick shoes that won’t slip around. A spray skirt helps keep water out of your kayak too.
- Know Your Ride: Practice using your kayak in calm water first. Learn how to turn it, lean it a little, and how the weight of your stuff changes how it feels.
- The Toolbelt: A bilge pump (gets water out of your kayak), a whistle (to call for help), and maybe a spare paddle are like your awesome superhero tools.
- Practice Makes Perfect: Watch some videos or even better, take a short lesson on how to get back into your kayak after flipping. Try it out someplace safe first!
- Weather Watch: Check the forecast! Wind, waves, or storms mean it’s better to kayak another day.
- Buddy System: Kayaking with a friend is safest. You can help each other if there’s a problem. If you go alone, tell someone where you’re going and when you’ll be back.
Basic Techniques for Kayak Capsize Recovery
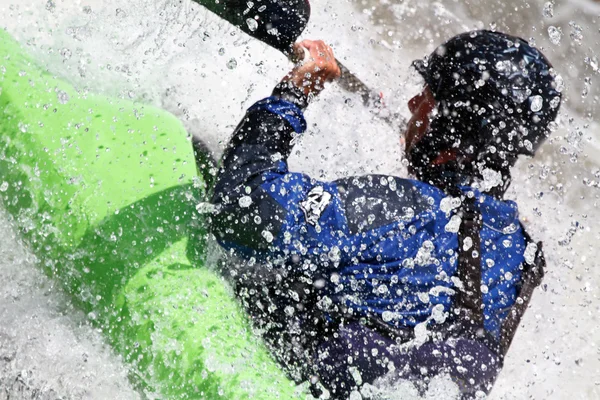
Remember: Safety first! Always practice these techniques in controlled settings with supervision before needing them in an emergency.
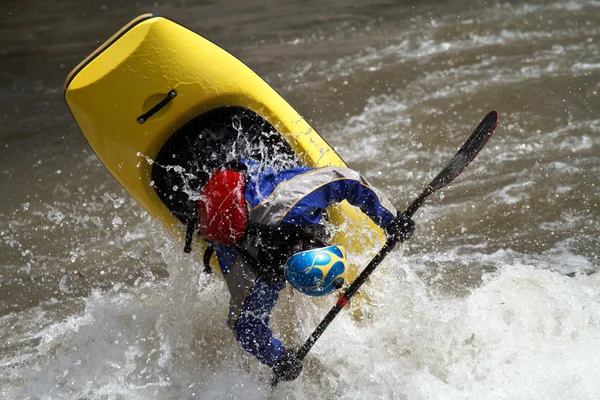
- The Wet Exit
- The Foundation: If you flip over, the first step is usually to get OUT of the kayak.
- Stay Calm: Panicking makes everything harder. Take a deep breath before you go under.
- Push Out: Brace yourself against the kayak and push away to release yourself from the cockpit.
- Find the Surface: Swim up and look around to get your bearings.
- Self-Rescue Options
- T-Rescue: If another kayaker is nearby, they can stabilize your boat while you climb back in. This is often the fastest method.
- Paddle Float Rescue: This inflatable device attaches to your paddle, helping you right the kayak and climb back in on your own.
- Cowboy Scramble: This is a more advanced technique involving flipping your kayak upright while still in the water, then climbing back in quickly.
Important Notes:
- Practice Makes Perfect: Take a kayaking class to learn these rescues properly and build muscle memory for real-world scenarios.
- Dress for Immersion: In cold water, a wetsuit or drysuit is essential for safety, even if the air temperature is warm.
- Safety Gear: Always wear a properly fitted PFD (lifejacket) and consider carrying rescue equipment.
Using a Paddle Float for Kayak Re-Entry
Think of a paddle float like a tiny inflatable boat you can attach to your paddle. It makes your kayak way less tippy when you’re climbing back in! Here’s how it works:
- Gear Up: Snap or blow up your paddle float and attach it to one end of your paddle.
- Make a Shelf: Hold the paddle so the float is on the water and the paddle blade sticks straight up. Rest the paddle across the back of your kayak.
- Hoist Yourself Up: Grab the far side of your kayak and the paddle. Use them to pull yourself up, sort of like climbing a ladder, until you’re back on top.
- Get In Quick!: Swing your legs over and into the kayak seat. Be quick, so the kayak doesn’t start to tip!
- Float Away: Take the float off your paddle and put it back in its bag.
Remember: Like everything with kayaking, this takes practice! Try it out in a calm spot on a nice day before you really need to use it. It’s also important to stay calm if you capsize (even when it’s surprising!). This trick makes getting back in so much easier.
Clearing water from the kayak with a sponge or bilge pump
After a capsize, your kayak might have turned into a mini-swimming pool! All that water makes getting back in wobbly and tricky. Here are two ways to get it out:
- The Super Soaker: A sponge is like a giant tissue for your kayak. Squish it, dunk it in the water, squish it again outside the kayak! Repeat until most of the water is gone.
- The Fancy Tool: A bilge pump acts like a straw for your kayak. Stick the long part in the water, give it a few pumps, and watch the water go! This is faster than a sponge, especially if there’s a lot of water.
Tip: It’s way easier to get the water out if one end of your kayak is propped up on something, even the shore, so the water drains easier.
Using a sponge
Imagine your sponge is a thirsty little monster, gobbling up all that leftover water in your kayak! Here’s the game plan:
- Front to Back Attack: Start at the pointy end (the bow) and work your monster sponge towards the back (the stern). This way, the water has nowhere to hide!
- The Super Squeeze: Dunk your monster, give it a good squish to soak up maximum water, then wring it out like a dishrag – outside the kayak, of course! Keep going until your kayak’s just a little damp.
- Beat the Salt! If you’ve been splashing around in the ocean, give your monster sponge a quick bath in freshwater when you’re done. Salt can be a sneaky villain for your gear!
See? A little sponge goes a long way! Now you’re ready to hop back in your kayak and conquer those waves.
Using a bilge pump
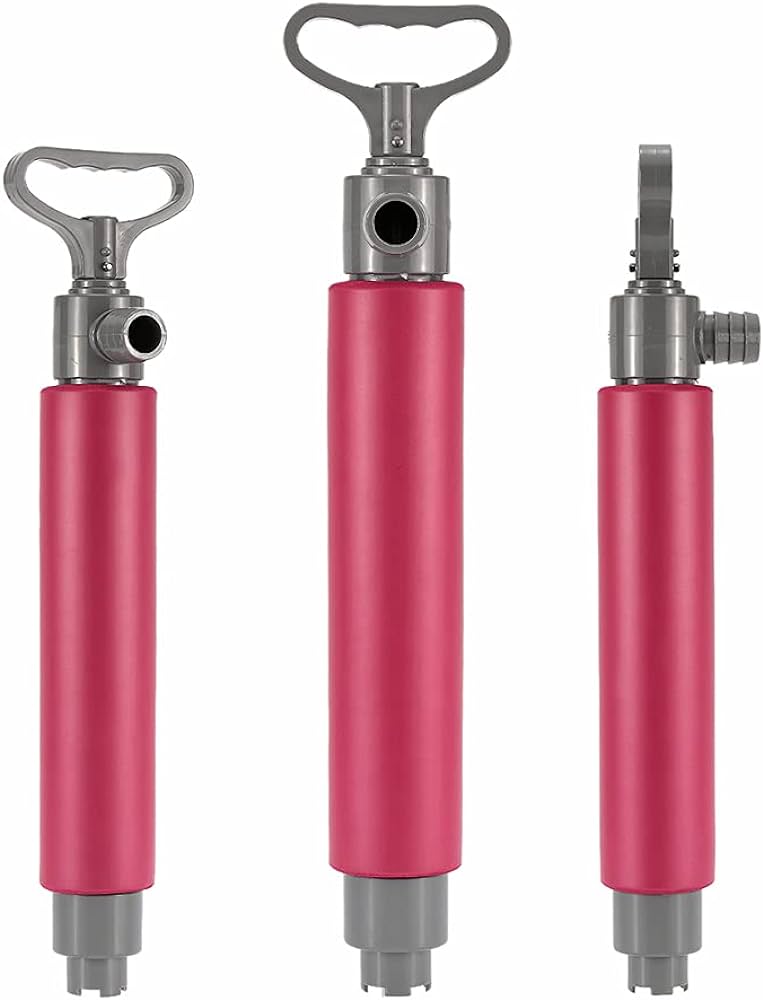
If you’re dealing with a LOT of water in your kayak, a sponge just won’t cut it. That’s where the bilge pump comes in! Think of this little gadget as a super-powered straw for your kayak.
- Find the Water: Stick the long, skinny part of the pump down into the deepest water puddle in your kayak.
- Pump It Up: Grab the handle and pump up and down. This creates suction, just like when you drink through a straw!
- Water Be Gone!: The bilge pump slurps up that water and spits it out over the side of your kayak. Keep pumping until that puddle is history!
Pro Tip: Bilge pumps come in fancy electric versions, but those are for big boats. A small, hand-powered pump is perfect for kayaks and easy to carry.
| Method | Pros | Cons |
|---|---|---|
| Sponge | Lightweight and easy to use | Time-consuming in removing large amounts of water |
| Bilge Pump | Quick and efficient | Requires additional equipment, such as a hose and pump |
The best way to clear out your kayak depends on you! It’s like picking between peanut butter or jelly – both are good, but you might like one better.
The important part is knowing HOW to use them before you get caught with a soggy kayak. A little practice on a nice day makes tackling a spill a lot less stressful later!
Advanced recovery techniques for challenging situations
The basic ways to get back into your kayak are awesome for most spills. But what if the water’s super rough, or you’re far from shore? Time for some advanced moves!
Think of these advanced tricks like cool karate moves. They take more practice, but they can help you get out of a jam when things get tricky.
Should we talk about some of these fancy recovery methods?
Scramble technique
The scramble technique is useful when you are close to shore or in shallow water. To perform this technique:
- Hold onto your kayak and swim to the stern (back).
- Quickly pull yourself up and onto the kayak using the side of the cockpit.
- Move forward to sit in the cockpit and stabilize the kayak.
T-rescue
The T-rescue is helpful when you are kayaking with a partner. To perform this technique:
- Have your partner paddle their kayak next to yours and perpendicular to you.
- Flip your kayak over and hold onto your partner’s kayak.
- While holding onto your partner’s kayak, have them stabilize your kayak by placing their paddle perpendicular to your kayak’s hull.
- Re-enter your kayak by climbing over your partner’s kayak and into your own.
Eskimo roll
The Eskimo roll is an advanced technique that requires practice and experience.
This technique allows you to roll your kayak upright while remaining seated inside. To perform this technique:
- Lean your torso forward and tuck your head toward your chest.
- Simultaneously sweep your paddle downward and away from the boat while leaning to one side.
- Use your hips to roll the kayak upright.
- Roll your torso back up and resume a normal paddling position.
Remember that advanced recovery techniques should only be attempted by experienced kayakers in suitable conditions.
Practice these techniques in a controlled environment before attempting them in the open water.
Tips for Preventing Kayak Capsizes
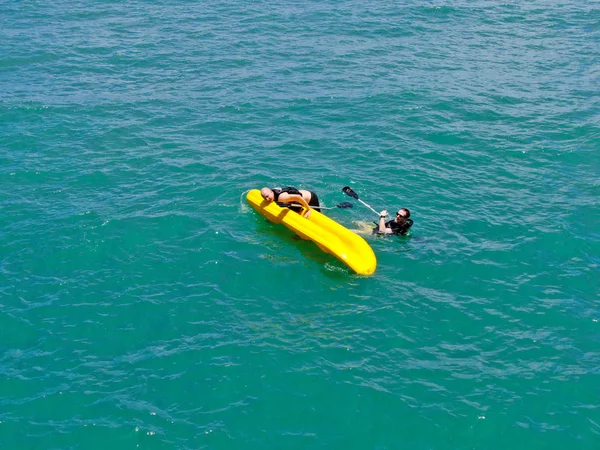
Kayaking is a blast, but let’s make sure those splashes are from your paddle, not from an unexpected swim!
Here’s your safety checklist:
- Your Super Suit: Your PFD (lifejacket) is your non-negotiable superhero cape. Pick a comfy one and wear it ALWAYS!
- Heads Up!: Watch the weather, keep an eye out for other boats, and be aware of how strong the water’s flowing.
- Balance is Key: Sit up straight, pack your stuff evenly, and think of your kayak like a seesaw.
- Paddle Power: Learning the right way to paddle makes a BIG difference. No crazy splashing – smooth strokes keep you in control.
- Don’t Overload: Too much stuff makes your kayak tippy. Check your kayak’s weight limit and don’t go over!
- Know the Waters: Start out in calm places, and avoid rough water until you’re more experienced.
- Kayak School: Even a short class can teach you TONS about staying safe, plus you’ll learn all the cool recovery tricks for when you DO take a swim.
Conclusion
With everything you’ve learned, those kayak capsizes won’t be scary anymore! Think of them like a little challenge and remember, being prepared is half the battle. Here’s your quick reminder:
- Prep Like a Pro: Practice flipping and getting back in your kayak in a safe place before you head out for real.
- Safety Gear is Your Sidekick: That lifejacket, knowing how to use a bilge pump or sponge – these make getting back in your kayak way easier.
- Nature Calls, Safety Answers: Kayaking is awesome for exploring, but always be smart about the weather, water conditions, and how much stuff you bring along.
Now get out there, have those adventures, and show those waves who’s boss!

